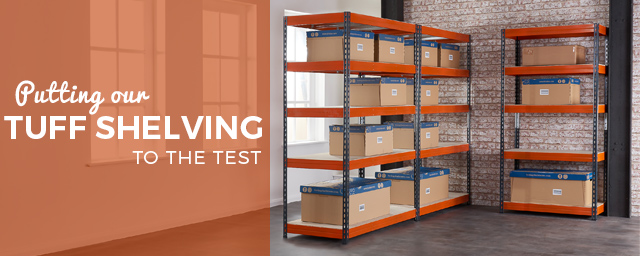
Well, what a start to last week. Monday’s are usually a tad dull. After a weekend of fun, it’s back to catching up on emails and working through the list of things that you need to get done during the week. However, for us at Direct2U, it was a different story last week.
We started our Monday with some in house product training!
I know, it may not sound quite so exciting for some. But when there’s a competition involved and a box of Celebrations up for grabs, it definitely causes a buzz in the office. This time we were getting to know our increasingly popular TUFF Shelving range. Our Product Manager Luke led the way, showing us all the benefits and features of the shelving.
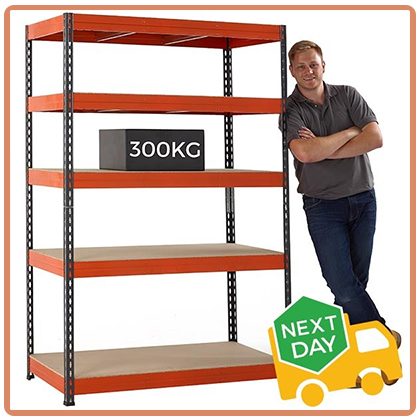
These are the key features and benefits of the TUFF Shelving Range:
- Fast & Free Delivery: All of our TUFF Shelving range is available on fast 24 hour delivery. This also includes the bundle deals.
- Colours Combination: Orange beam levels and Dark Grey uprights are a unique colour combination for us, you won’t be able to get it anywhere else.
- Compact Packaging: 200 – 430kg Shelving is delivery in one box. 450kg shelving is delivery in three boxes as the uprights are one continuous piece and shelves are long. This makes it easier to accept delivery as each package is an easy weight to handle.
- Robust & Sturdy Construction: You can store just about anything on these shelving bays. We have supplied these bays to the Motorsport industry, which they use to store heavy tools and engine parts.
- Variety: TUFF shelving is available in many different configurations. With 4 weight capacities to choose from and numerous widths and depths.
- Quick & Easy Assembly: It’s said that this shelving can be put together in just 15 minutes! This is due to the no fuss slot together construction which requires no nuts or bolts. We put this to the test. Read on to find out how we got on.
Letting us loose on the TUFF Shelving…
In our line of work, we often have product training days to make sure we know our products inside and out. However, we usually only get to see the finished product, fully assembled. Well, this session was a little different. They wanted us to experience the product as our customers would. So, we were given the parcel as it would be delivered.
Once we had seen how the shelving is delivered to our customers, we were asked to assemble the TUFF Value 200 Shelving. One of the most popular bays that we currently sell.
We were split into two teams – Marketing and Sales (of course) and the competition was on. Not only were we against each other’s time, but the shelving had to be put together correctly and we were judged on how well we assembled the shelving. There was no cutting corners.
But before we began, Luke played our assembly video so we can see how it should be done. The video does make it look easy and straight forward, so we were also putting this to the test. Watch our TUFF Shelving Assembly video here.
I should probably point out at this point, that we are all fairly young, the majority of us female (not that it should make any difference) and most of us aren’t experienced in DIY. We decided our level of expertise was: Good at assembling Ikea Flat Pack without too much of a headache.
So, with our pack of shelving, rubber mallet and assembly instructions which come with every pack we cracked on.
We found assembling the TUFF Shelving relatively straight forward, just like the video showed. Within no time, we had erected the bay and had finished it to a good enough standard to be approved. It was sturdy, with an extremely robust construction that would look the part in any garage. It even passed our own weight test. The shelf successfully took the weight of one of the guys from the Marketing Team.
Many of us agreed that we would like this shelving for our own garages and sheds to organise our storage at home. It is extremely good value for your money. The best part is that if you needed to reconfigure the bay or reposition the shelves at any stage this can be done. Simply remove the chipboard shelves and tap the shelf beams out of the uprights and re-position – it couldn’t be easier!
It was great to get our hands on the physical product and have a go a putting it together. We now can see where customers could potentially get stuck, as is possible with all knock down items. But having had to work these things out for ourselves we can pass on our own advice.
Here are some tips that we came away with…
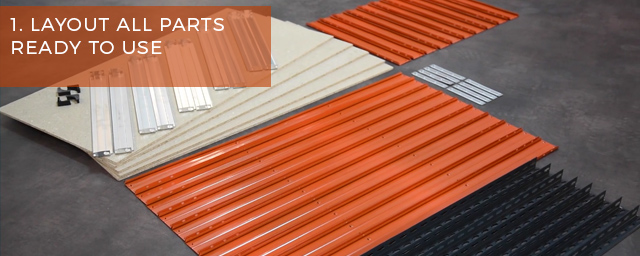
Tip One: When you first open the package layout all the parts and sort them into groups, so that when they are needed they are to hand.
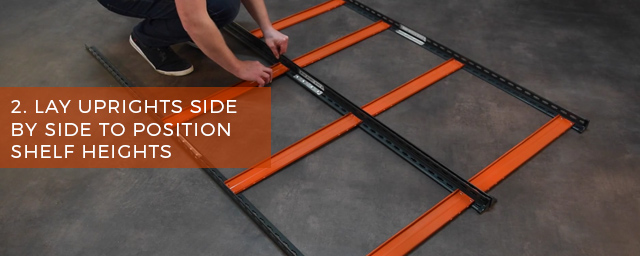
Tip Two: When working out the heights of the shelves, lay the uprights down on the floor next to each other. This will make sure that you get the shelves at the same height on both sides. Reducing the possibility of having wonky shelves!
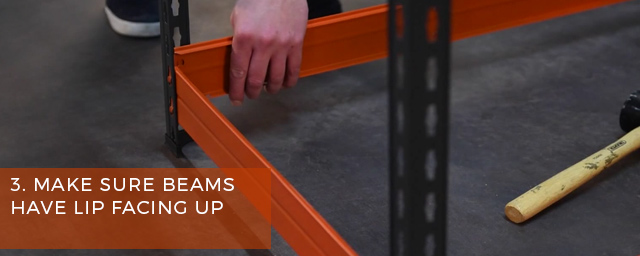
Tip Three: When putting in the beam levels make sure that they are the right way up! They have a lip on one side which supports the shelf. If these beams are put in upside down then the shelves will either fall through or not go in at all.
